School’s out, and summer has given you plenty of time to yourself. What better way to spend it than trying your hand at a cool engineering project? If you’re wondering how to become an engineer, or why study engineering, participating in summer engineering projects can be a great way to explore the field.
As you’ll know, engineers work on complex projects with very technical and expensive equipment and materials, and it’s not always possible to recreate this kind of environment at home. However, we’ve put together three of the best summer engineering projects for students that will encourage you to hone your skills, learn new technologies, and see if you can work and think like an engineer. Engineers are problem solvers who notice trends and think broadly, and these projects can help you develop these essential skills.
Ready? Here are 3 simple engineering project ideas that will get your brain cells working like an engineer!
1. The Pin Jointed Bridge
In typical bridge structures, components are held together with nuts and bolts. These are very strong and hold parts together, but they do not “glue” them together rigidly. Imagine a very long nail that you hammer through two planks of wood. The planks are joined to each other, but you can still spin them around the nail. We call this freedom of movement, and in this case, it is called rotational freedom of movement.
What materials are needed to build a paper bridge?
We will use this principle to build a bridge using just four materials:
- A4 paper (or equivalent)
- Paper fasteners (also known as split pins)
- Glue sticks and sticky tape
- You will also need scissors and a hole puncher
Paper bridge design rules
The task is to design a truss bridge that can span a minimum distance of 50cm. You can easily find online some examples of truss bridges.
The bridge should have at least two longitudinal frames (these are the parts of the bridge that span the whole length) and should have lateral bracings between these frames (in real life, the road or decking would sit on these lateral bracings). There are a few rules:
- The glue stick is only to help you make stiff “rods” out of the pieces of paper, NOT to stick pieces of paper together.
- When making the longitudinal frames, you can only use the hole puncher and paper fasteners to connect elements
- The sticky tape can only be used to secure lateral bracing.
- When positioning or testing your bridge, you cannot stick or hold it down to the places it is supported by. It can only rest on them. This is like bridges in the real world: they only rest on their supports and are rarely rigidly fixed to them.
These rules ensure that most of the forces within the bridge go through the paper fasteners instead of the tape or glue, mimicking the role of a nail in planks of wood.
You can try this out with a few friends and compare your bridges. Take this challenge to the next level by tying some weights (or other objects) to your bridge using string. How much can your bridge hold?

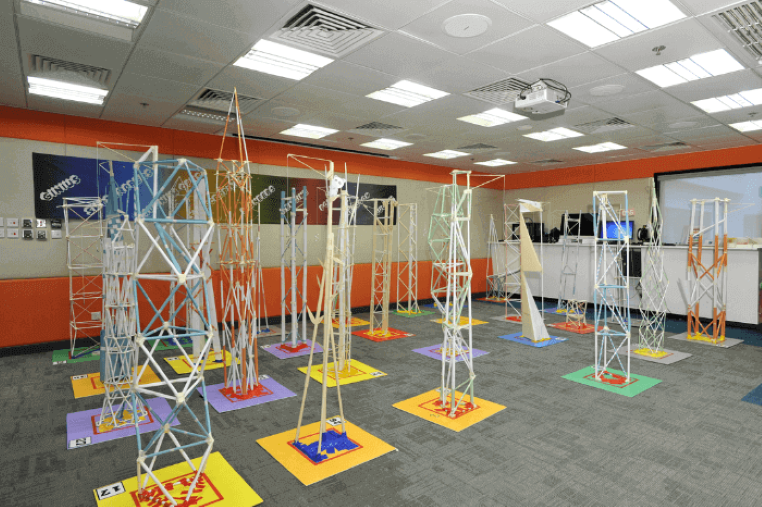
2. The Paper Tower
Engineers often wish they could have whatever materials they want in unlimited quantities. This does not happen in real life! This project will test your creativity and efficiency in problem solving for engineering.
How to do the paper tower challenge?
To do the paper tower challenge, you will need:
- 8 sheets of A4 paper (or equivalent)
- 1.5m of sticky tape ONLY
- Scissors and a ruler
The task is simple. Build the tallest paper tower you can, using only the paper and sticky tape as materials (no, you cannot use the ruler to prop up your tower). This will really test your creativity – it’s a tricky task! I recommend working in a group of friends so you can collaborate and share ideas.
You could do some trial runs to test different designs and construction methods, but be strict with your final build, making sure you don’t use more materials than you should. If you’re able to get a tower taller than 80cm you’ve done fantastically well (it’s possible I promise)!

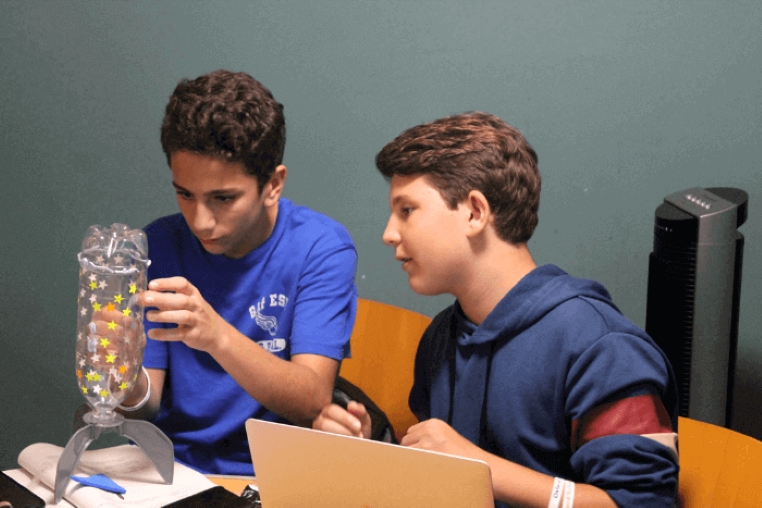
3. The water bottle rocket
This is always a favourite activity in the Discover Technology Academy summer course at Oxford Scholastica’s Engineering summer school. You can purchase the necessary bottle rocket kits online.
What will building a water bottle rocket teach you?
The water bottle rocket project will give you a basic understanding of propulsion and aerodynamics, and the kit will come with specific instructions on how to operate your rockets. I recommend doing some research beforehand on Newton’s Third Law of Motion and how this relates to the water bottle rocket and the fluid inside it.
When carrying out this project you should investigate a couple of things:
- What is the optimum amount of water to make the rocket launch further?
- What features can we add to the outside of the bottle to make the rocket launch further? E.g. Fins, a nose etc.
And finally, engineers must be responsible with the materials they use and try to limit waste. What features can you add to improve the reusability and lifespan of the rocket?


